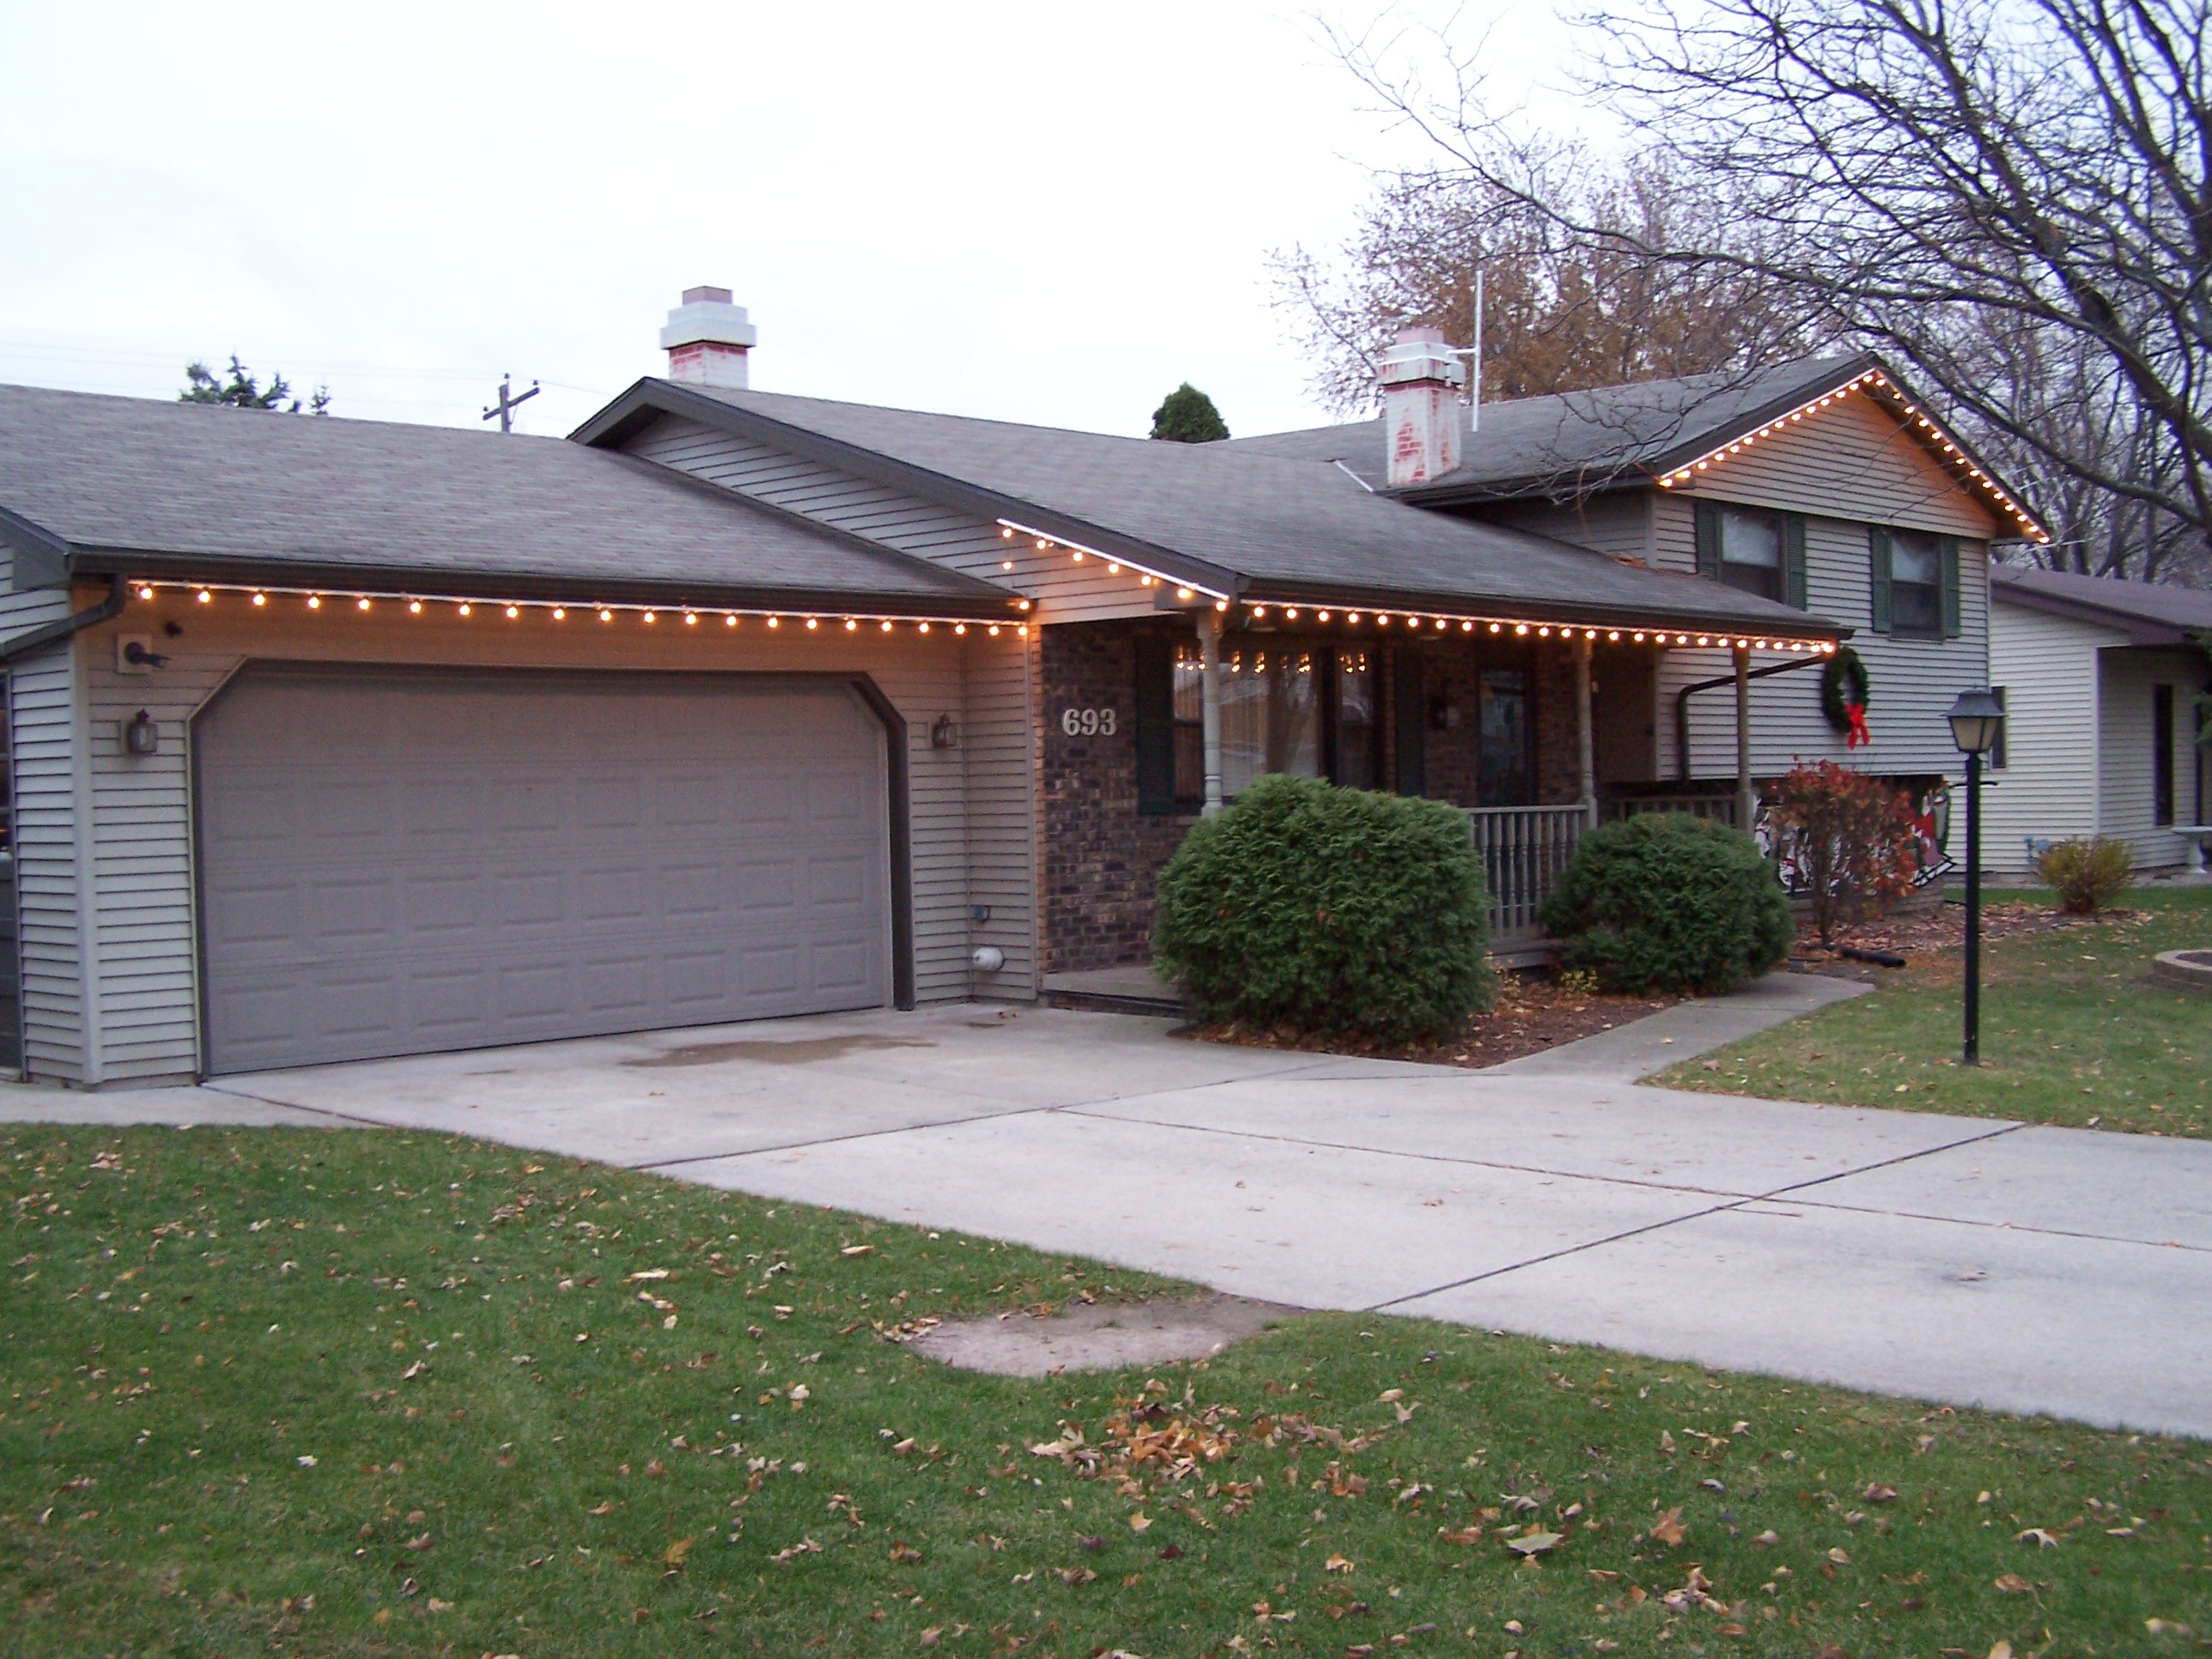
 We came up with this system to simplify the annual ritual of putting Christmas lights on our house. It’s actually quite simple, and cheap. We like to have each light bulb in its place (translation: Mom likes to have each light bulb in its place), so that we have a very neat look (see figure 5). Literally hanging a strand of lights is just too messy. Historically, I always bought those plastic clips, and attached each light bulb individually under the shingles or on the eves. While that gave us the look we wanted, it just got to be too tedious.
The Lights
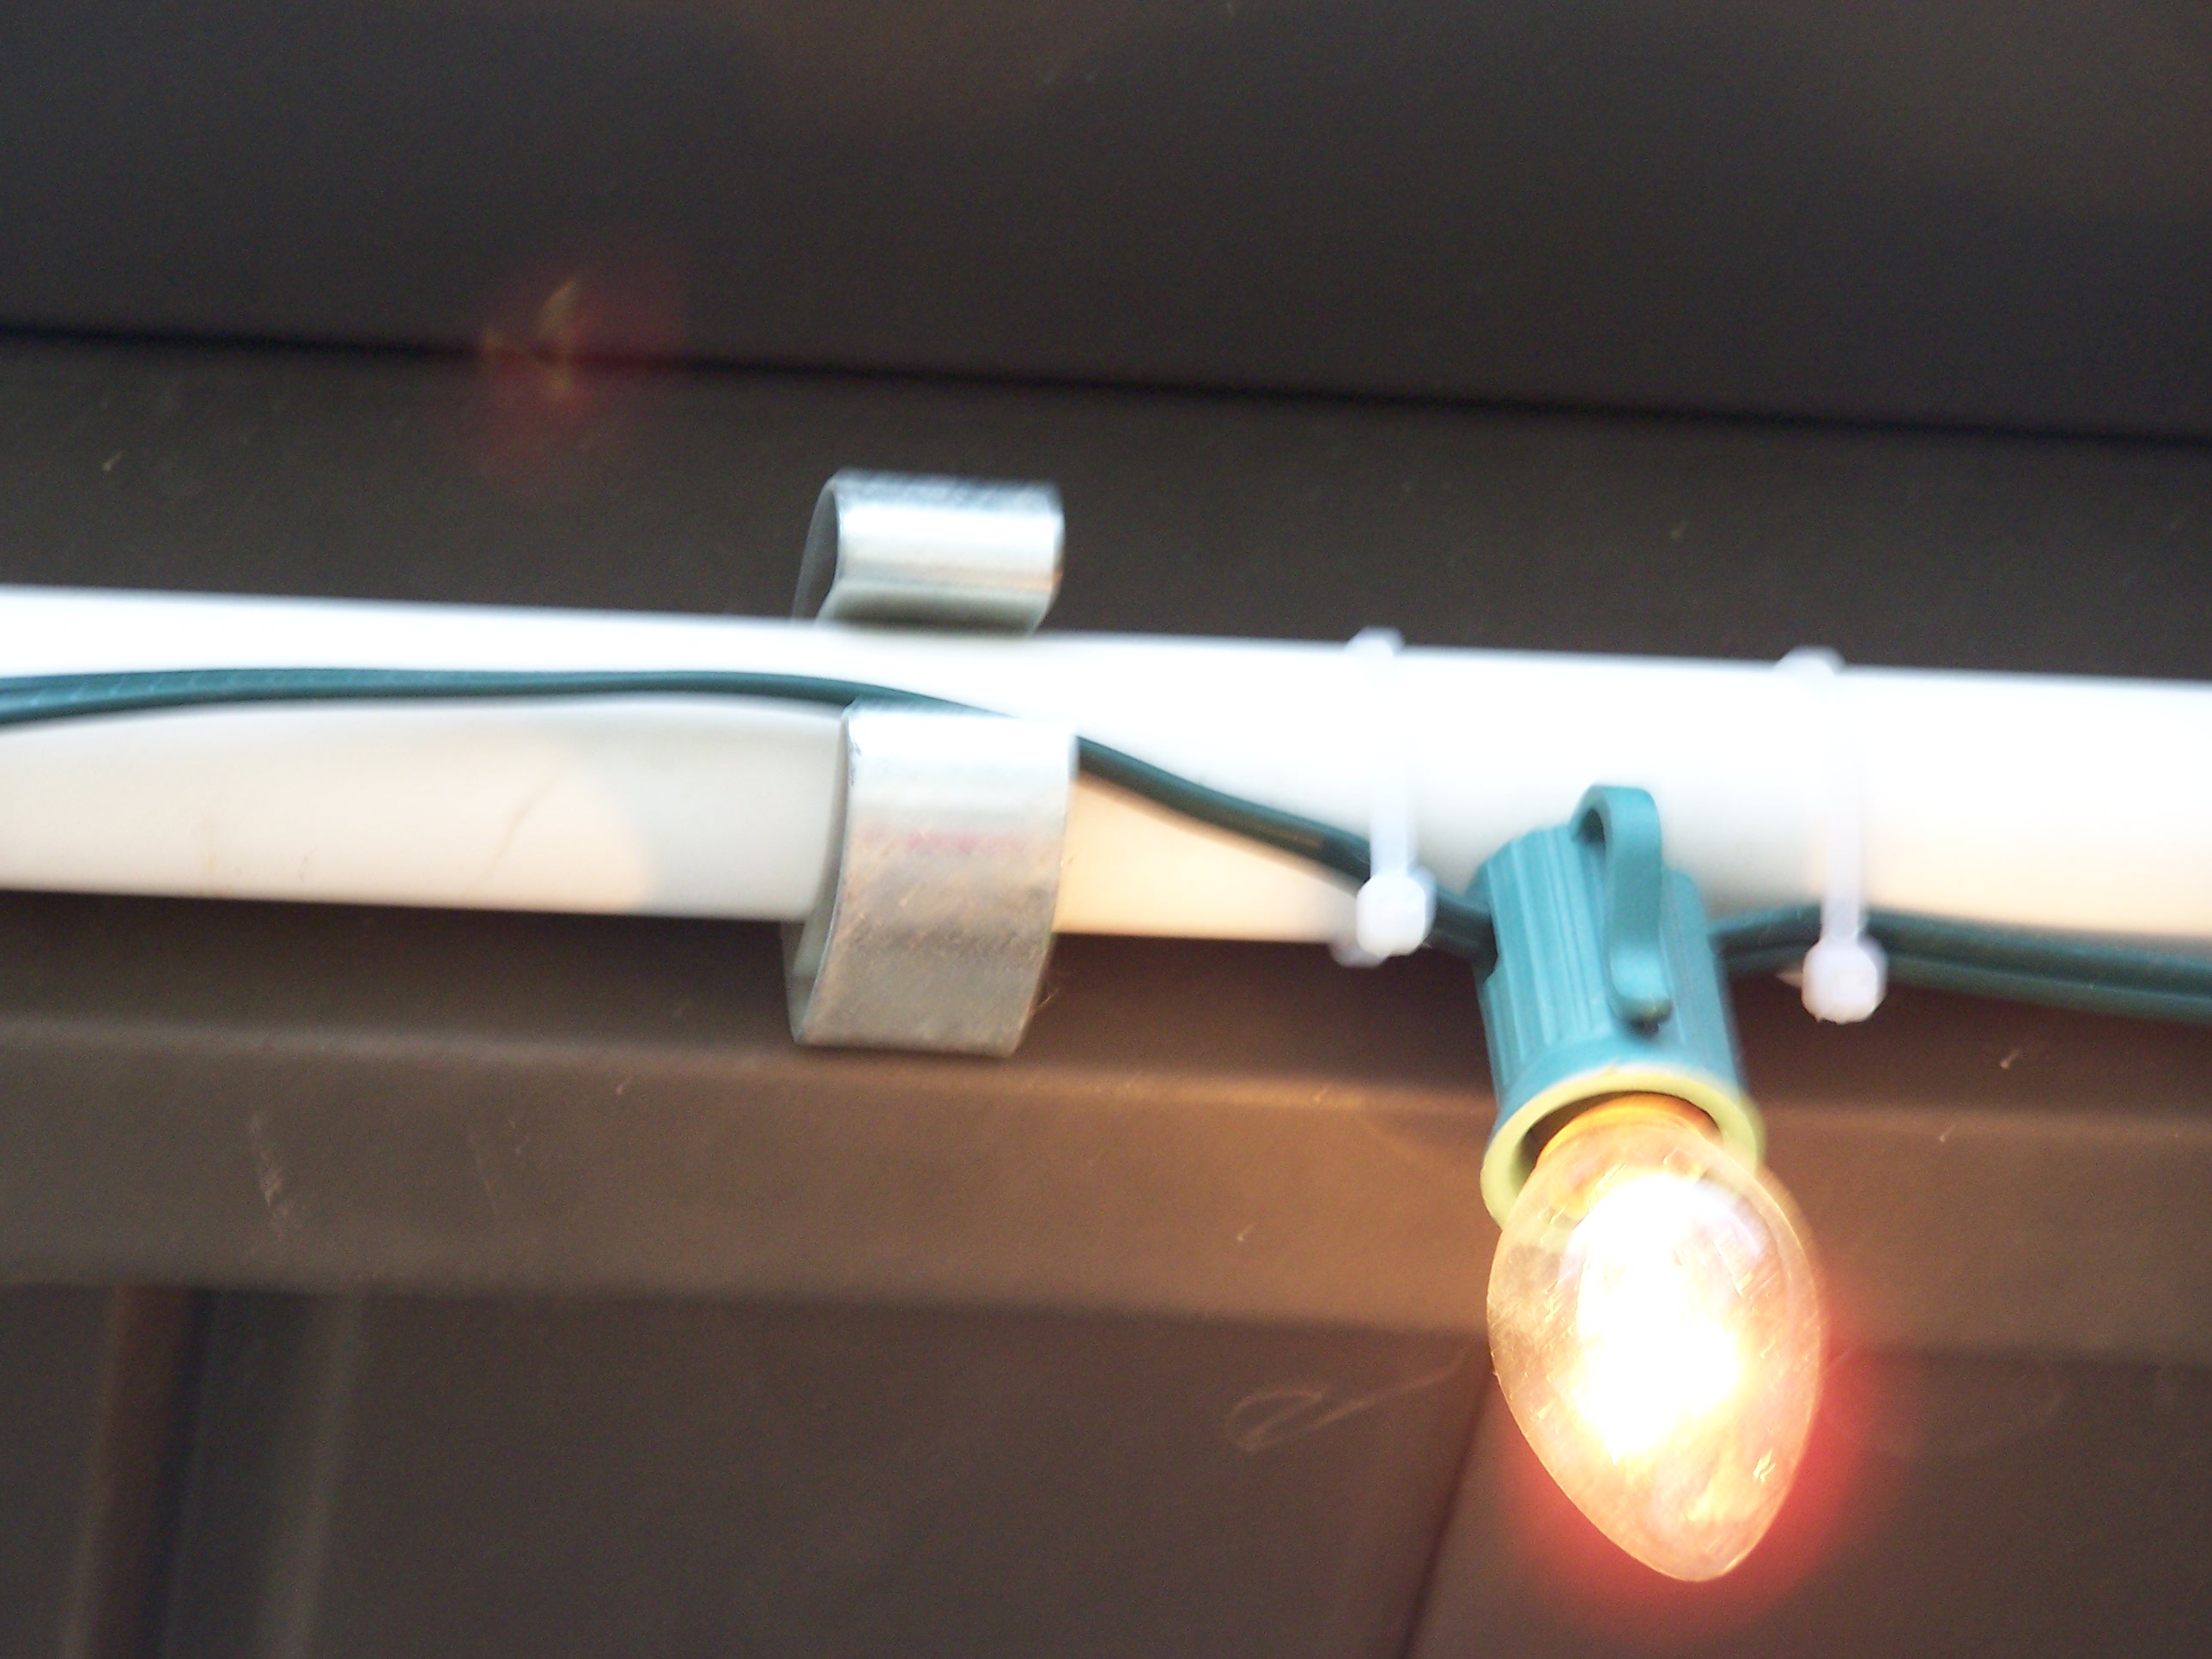 We use standard C7 light sets, though C9 should work just fine too. Actually, we finally got frustrated after taking down our old lights in 2005. So, we hit the after-Christmas sale that year at Walmart. We got a standard 25′ string of lights (one light per foot) for 50¢. So we bought a bunch of them. Then in 2006, we had all the lights we needed for our project. We attached the lights to standard ½” PVC pipes. We do it with plastic zip ties. Each light is attached with two ties, one on each side. The ties are then tightened so that the bottom of the light is flush against the pipe, with the light hanging straight down.
The Pipes
We used standard ½” PVC pipe. It is easy to work with and it snaps perfectly into standard broomstick clips. We also cut the PVC pipes to custom lengths, so that they fit perfectly on our house. And we labeled each pipe with the letters A thru D (using a Sharpie marker) so we know which section goes where on the house.
 The Wiring
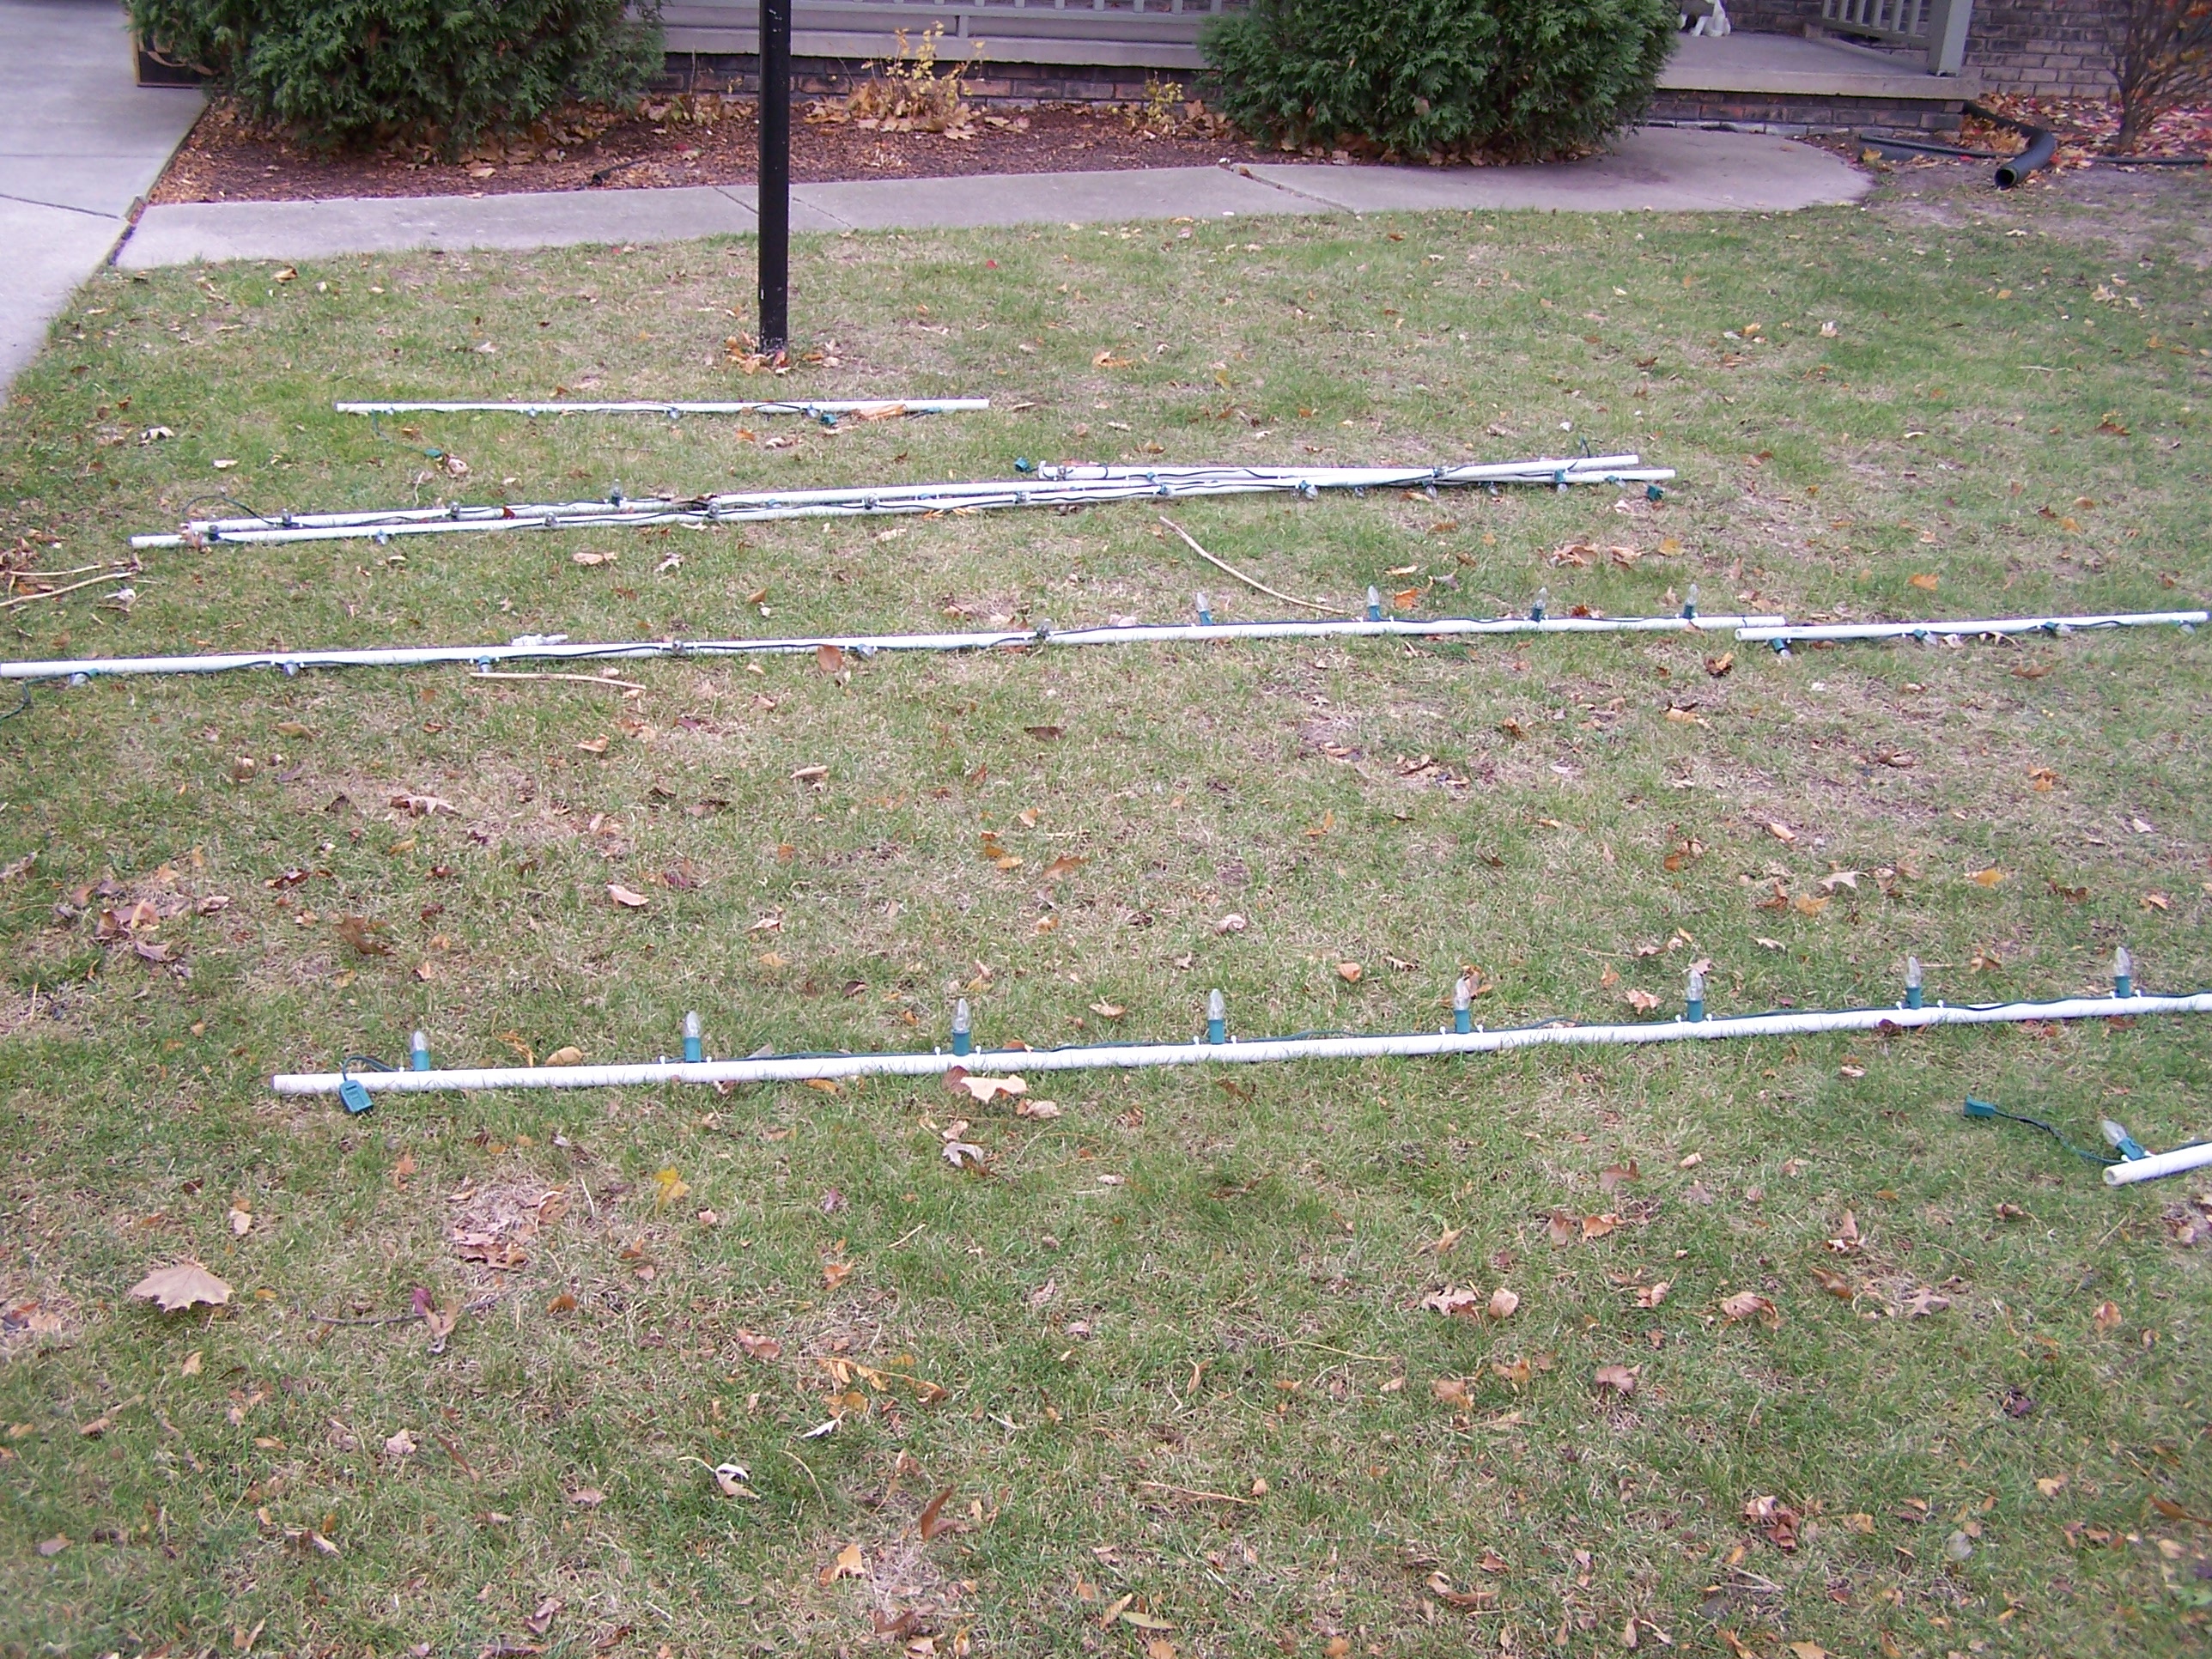
As I mentioned above, the PVC pipes are cut to custom lengths. This means the Christmas light strings must also be cut accordingly. So I did this by simply measuring out each length that we need, cutting the light strings, and soldering them together. This took a bit of time, but it was a lot of fun. The strand that we put up in the video below is 23′ in length. The lights come in 25′ lengths from the store. So we cut two feet off the end and soldered the wires back together. We then strapped the single string of lights onto three PVC pipe lengths of 10′, 10′, and 3′. The pipes can be “folded” for easy storage.
The Clips
We attached standard broomstick clips along the edge of our house. The PVC pipes simply clip onto the house. This is the core feature of the entire setup.
The Video
 My daughter Randy and I actually created this project in November 2006. So 2007, the year we made the video, was the first time we reaped the benefits. Putting up the lights now takes less time than it ever did. The video shows how we put up one section of the lights in two minutes.
When we first pulled the lights out of the garage, we just laid them out on the front lawn to figure out the installation order. We first put up the strand over the garage, then over the front of the house (shown in the video). Then we put the last two strands over the peak of the upper level of the house. It was so easy.
In 2015, we put the same lights up for the 10th year in a row. It’s still the same pipes, the same brookstick clips, and the same strings of lights. We’ve had to replace a few bulbs over the years, and we occasionally have to replace some of the zip ties. Creating this set with all the custom cuts and soldering was a bit of work, but it continues to pay back year after year.